Learning is not always a piece of cake—or is it? Connecting healthy food with delicious discovery is a sure-fire recipe for success. Author Ann McCallum shares some thoughts behind her latest book in the Eat Your Homework series.
What are the Eat Your Homework books?
There are three books in the series by Charlesbridge Publishing:
Eat Your Math Homework: Recipes for Hungry Minds
Eat Your Science Homework: Recipes for Inquiring Minds
Eat Your U.S. History Homework: Recipes for Revolutionary Minds (Release date October 13, 2015)
What are the books about?
Each illustrated book has six sections. Each section includes an interesting snippet about the topic, an original recipe, and some sort of ‘appeteaser’ or sidebar for kids to have fun with. The latest book, for example, includes recipes from when the pilgrims first arrived in America, to right after the Revolutionary War. Some of the recipes include: Thanksgiving Succotash, Southern Plantation Hoe Cakes, and Independence Ice-Cream. In the math book there are recipes such as Fraction Chips and Fibonacci Snack Sticks, and the science book includes Atomic Popcorn Balls and Density Dressing. The illustrator, Leeza Hernandez, created fab pictures to complement the text and recipes. Here’s one of my favorites to illustrate that the two Georges (George Washington and King George III) didn’t agree about what to do about the American colonies.
What inspired you to write these books?
I started with the math book. I used to teach fourth and fifth grade math and was looking for ways to get kids to love math. I gave my students a food project one day: mathematical gingerbread houses. Each student had to create a gingerbread house using graham crackers and then explain how they were mathematical. The students really got into it; they measured area and perimeter, they created geometric shapes, and they calculated to get products and sums of the decorative candy. I started experimenting with my own math recipes after that. Eventually, I wrote Eat Your Math Homework. I got really excited about the connection between learning and food. Creating recipes to learn about math, science, or history is such a fun, hands-on way to get kids engaged.
How about you? Where did you grow up?
I was born in Calgary, Alberta, Canada. My family moved to British Columbia, the furthest west province in Canada, when I was going into sixth grade. My new home—just outside a town of 1500 people—was completely different from the city I’d grown up in. I loved it. My dad built our house from logs. It was in front of a huge lake with a series of mountains on the other side. It was wild and beautiful, and I spent my childhood exploring the woods near our house. I especially loved the abandoned cherry tree orchard and spent many hours perched in a tree, munching on cherries and reading books.
How did you come up with each of the recipes?
It was actually loads of fun to experiment in the kitchen for each of the recipes. I thought about how I could connect the topic to some kind of food and then I started experimenting. For example, in the science book, I loved the idea of creating a recipe with invisible ink. I remembered when my brothers and I used to use lemon juice to write messages in ‘invisible ink’ on paper. I figured if it worked on paper, there had to be a way to make it work on pizza dough. I tried many times before coming up with Invisible Ink Snack Pockets.
What’s your favorite recipe in the books?
Well, the Invisible Ink Snack Pockets are really good, but I also love the Revolutionary Honey Jumble Cookies. They’re a yummy afternoon treat if you’re in the mood to think about the American Revolution! Or, there are the Tessellating Brownies, too…
What’s your favorite food in general?
I love all kinds of food-- salads, raspberries, cheese, fajitas. I don’t like things that are too spicy, though.
THIS OR THAT:
1. Chocolate or vanilla? really good vanilla
2. Black or blue ink? No druthers (but I do like green and pink ink)
3. Football or baseball? Baseball all the way!
4. Dogs or rabbits? Rabbits
5. Monkey bars or swings? Swings
Thanks for sharing with us Ann! You can read more about her books on her website. She even has a section specifically for parents and educators!
Saturday, October 10, 2015
Sunday, October 4, 2015
Do-Over Dots
When students make careless mistakes on their math papers, sometimes I ask them to rework the problem. Many times they don’t erase well enough for me to decipher the new answer or they complain about having to erase. I use dot stickers (found in office supply stores or local chains like Wal-Mart or Target) to cover up the wrong answers. When the papers are handed back, the students automatically see which problems need to be redone. This also serves as a quick visual indicator to help parents identify possible problem areas for their child.
An Ed Emberley Art Center
Who doesn’t love Ed Emberley books? I used them when I was a little girl and now I use them in my classroom. They build artistic confidence and spread creativity. My favorites have always been the thumbprint books. You start with a basic thumbprint and turn it into something fun like an elephant or spider or lion. If you have a whole page of thumbprints you could make your own zoo!
Erin and I like to make copies of our thumbprint page.
Then we set up an art center for our students. We include Ed Emberley’s books, markers, colored pencils, crayons and clipboards. We display a sample page too.
Sometimes the students copy our ideas, other times they create their own, like a thumbprint Elvis! This is a quick and easy way to encourage students to draw using basic shapes, lines and squiggles.
Erin and I like to make copies of our thumbprint page.
Sometimes the students copy our ideas, other times they create their own, like a thumbprint Elvis! This is a quick and easy way to encourage students to draw using basic shapes, lines and squiggles.
Wednesday, September 30, 2015
Magic Spelling Wands
Looking for a fun way to practice spelling words? Have your
students make their own magic spelling wand! Give each student a small dowel
rod (or wooden skewer with the pointy end clipped off), a star made from
cardstock, an index card or thick scrapbook paper, and some ribbon or string.
Instruct students to tape the star onto one end of their wand. (You can also
hot glue these on in advance for a longer lasting wand.) Then have students
pick out some ribbon or yarn to add to the back of the star.
When your wands are finished, use them to write your
spelling words in the air. I’ve had students spell the words aloud as they
write them and then make a magical twinkling sound as they circle or underline
their finished words.
You can use these wands as part of your spelling center, a
way to liven up your routine during a spelling slump, or to keep your students
spellbound at the end of the year.
Happy Spelling!
Friday, September 18, 2015
Mrs. Killion’s Turtles
I have an amazing volunteer named Mrs. Killion. She is constantly thinking of fun projects for my students to do and she returns year after year to help me. Do you remember her popcorn ball spider eggs? This is another one of her creations.
A friend of hers had a ton of baby food containers she was keeping in case she ever needed them. (Sounds like teacher hoarding to me!) When she realized she would never use them, she gave them to Mrs. Killion who turned them into these adorable turtles.
She uses this pattern and copies it on green construction paper, 2 patterns per turtle. As the pattern indicates, she includes pieces of pipe cleaner. When the two patterns are glued together, the pipe cleaners add flexability to the legs and head of the turtle. (How brilliant is that? You could use that trick on so many projects!) Finish off with a pink tongue and wiggly eyes. Then glue the pattern to the plastic lid.
Sometimes we fill the containers with goldfish crackers for a fun snack. Other times we take it one step further and turn it into spelling practice. The students write their spelling words on dot stickers and add the stickers to the “shell” of the turtle. They can keep their new pet on their desk and refer to it all week to review spelling words. You could also practice addition or subtraction facts on the stickers. My students love taking the turtles home and refilling them with other treats, so don’t be surprised if they show up again during snack time!
A friend of hers had a ton of baby food containers she was keeping in case she ever needed them. (Sounds like teacher hoarding to me!) When she realized she would never use them, she gave them to Mrs. Killion who turned them into these adorable turtles.
She uses this pattern and copies it on green construction paper, 2 patterns per turtle. As the pattern indicates, she includes pieces of pipe cleaner. When the two patterns are glued together, the pipe cleaners add flexability to the legs and head of the turtle. (How brilliant is that? You could use that trick on so many projects!) Finish off with a pink tongue and wiggly eyes. Then glue the pattern to the plastic lid.
Sometimes we fill the containers with goldfish crackers for a fun snack. Other times we take it one step further and turn it into spelling practice. The students write their spelling words on dot stickers and add the stickers to the “shell” of the turtle. They can keep their new pet on their desk and refer to it all week to review spelling words. You could also practice addition or subtraction facts on the stickers. My students love taking the turtles home and refilling them with other treats, so don’t be surprised if they show up again during snack time!
Wednesday, September 9, 2015
Easy Writing Pages
A few years our school adopted a new instructional framework that focuses on higher order thinking and writing. Our students have really latched onto this program and are writing more than we’ve ever had them write before.
When some of the assignments got home, they would be slightly difficult to make sense of without the writing prompt, so we had to figure out a way to include it on every student’s paper. At first we tried writing the prompt onto the top of the page but it looked too messy. Then we tried printing directly onto the writing paper so that it would be centered and neat. But a problem arose when my printer broke and was not replaced since we’re going towards centralized printing (yaaaaaaay). When I wanted to print onto the paper I’d have to go into another teacher’s classroom to use her printer or attempt to use the copier to get it onto the writing paper. This usually took 2 or 3 tries after first printing on the back, and then upside down. Cue frustrated sigh.
The problems continued when we realized that, as a grade level, we were going through ream after ream of writing pages and getting close to the end of our supply. So we came up with this idea! We can make our own writing pages that we can type onto and print. We can get the prompt at the top of the page and decide if we want a picture space or no picture space, landscape or portrait, large writing lines or small. What a time saver!!
Here are the writing pages we currently use. We’ve uploaded landscape and portrait formats both with and without picture spaces. These have made our lives much easier and students are really motivated to move on to a page 2, 5, or higher! For easy storage, get some nesting paper trays and store each page number in it’s own bin. Stack them when they aren’t in use, spread them out on a table or the floor when they are. Happy Writing!
When some of the assignments got home, they would be slightly difficult to make sense of without the writing prompt, so we had to figure out a way to include it on every student’s paper. At first we tried writing the prompt onto the top of the page but it looked too messy. Then we tried printing directly onto the writing paper so that it would be centered and neat. But a problem arose when my printer broke and was not replaced since we’re going towards centralized printing (yaaaaaaay). When I wanted to print onto the paper I’d have to go into another teacher’s classroom to use her printer or attempt to use the copier to get it onto the writing paper. This usually took 2 or 3 tries after first printing on the back, and then upside down. Cue frustrated sigh.
The problems continued when we realized that, as a grade level, we were going through ream after ream of writing pages and getting close to the end of our supply. So we came up with this idea! We can make our own writing pages that we can type onto and print. We can get the prompt at the top of the page and decide if we want a picture space or no picture space, landscape or portrait, large writing lines or small. What a time saver!!
Here are the writing pages we currently use. We’ve uploaded landscape and portrait formats both with and without picture spaces. These have made our lives much easier and students are really motivated to move on to a page 2, 5, or higher! For easy storage, get some nesting paper trays and store each page number in it’s own bin. Stack them when they aren’t in use, spread them out on a table or the floor when they are. Happy Writing!
Monday, September 7, 2015
Book Bite #4- Lady Pancake & Sir French Toast
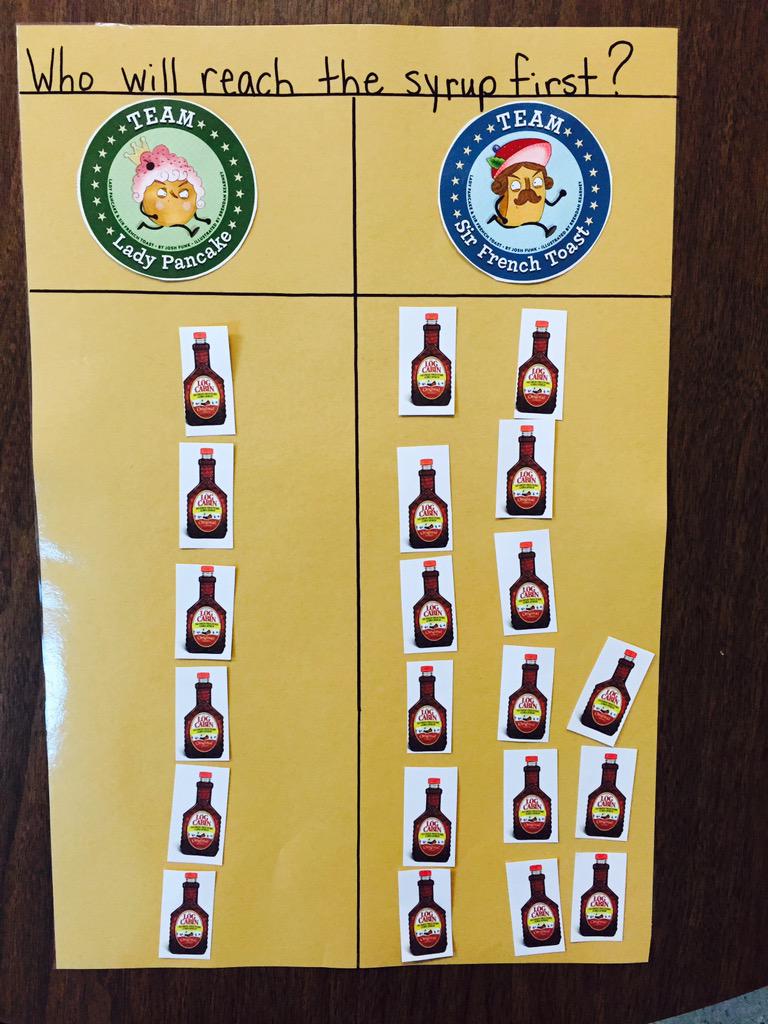
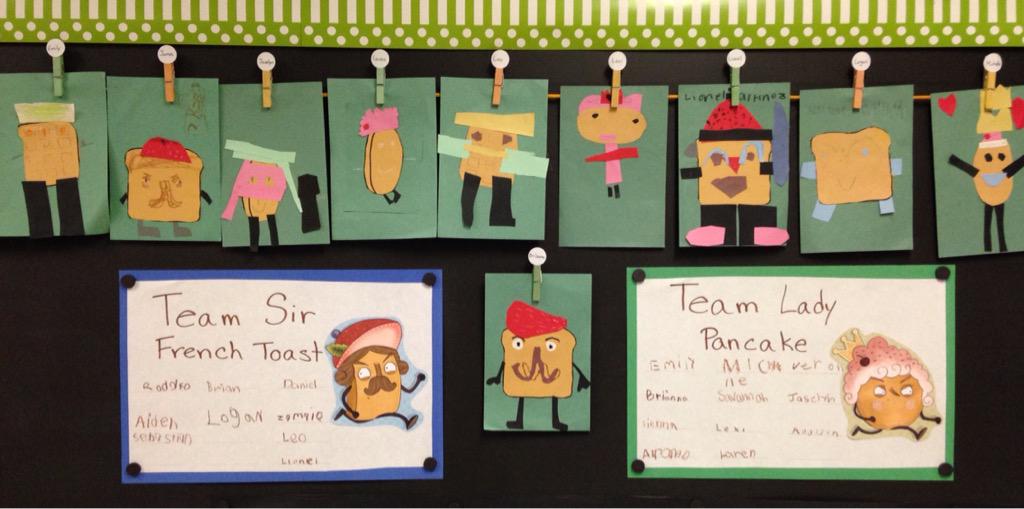
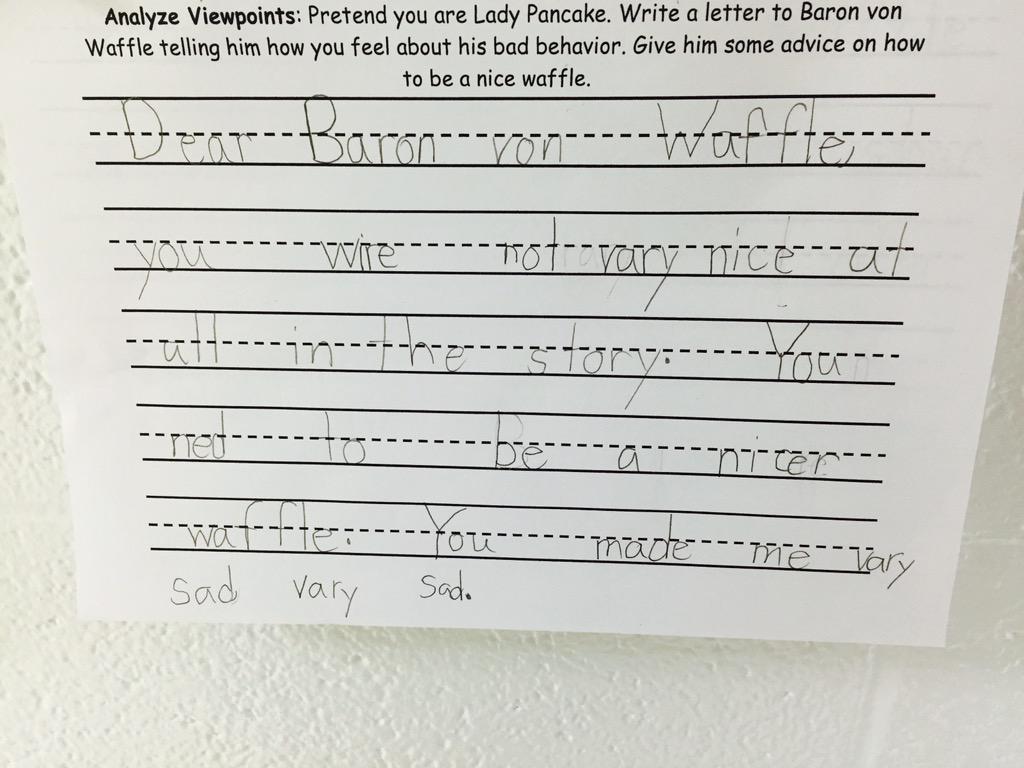
Since our Book Bites for Lion vs. Rabbit, Unicorn Thinks He’s Pretty Great and Sam and Dave Dig a Hole have been so popular, we thought we’d share some of the activities we’ve done for one of our new favorites- Lady Pancake & Sir French Toast written by Josh Funk and illustrated by Brendan Kearney.
You had us at the title, Josh, but then we saw the amazing book trailer. A pancake and French toast battling it out for syrup? Who doesn’t love a little competition? This book proved to be perfect for the beginning of school as we could easily relate it to our citizenship unit. Snag our Book Bite here.
Check out some of the activities we’ve already done!
Subscribe to:
Posts (Atom)